

In the late 2000s I kept a personal mom blog called Nest Bliss. I reviewed books, wrote about the house and the girls, and was even in the Wall Street Journal. These posts are from then: light, young, a mom in her late twenties. I have edited them to stand on their own.
So Ava had a great second birthday this past weekend. Her family loves her so much that I had 18 out of town guests and no one had a shorter drive than 7 hours and some as long as 12.
I will post some pics this week of the actual party but I made some cookies that were so good and I thought you might like my pointers on them and the recipes!
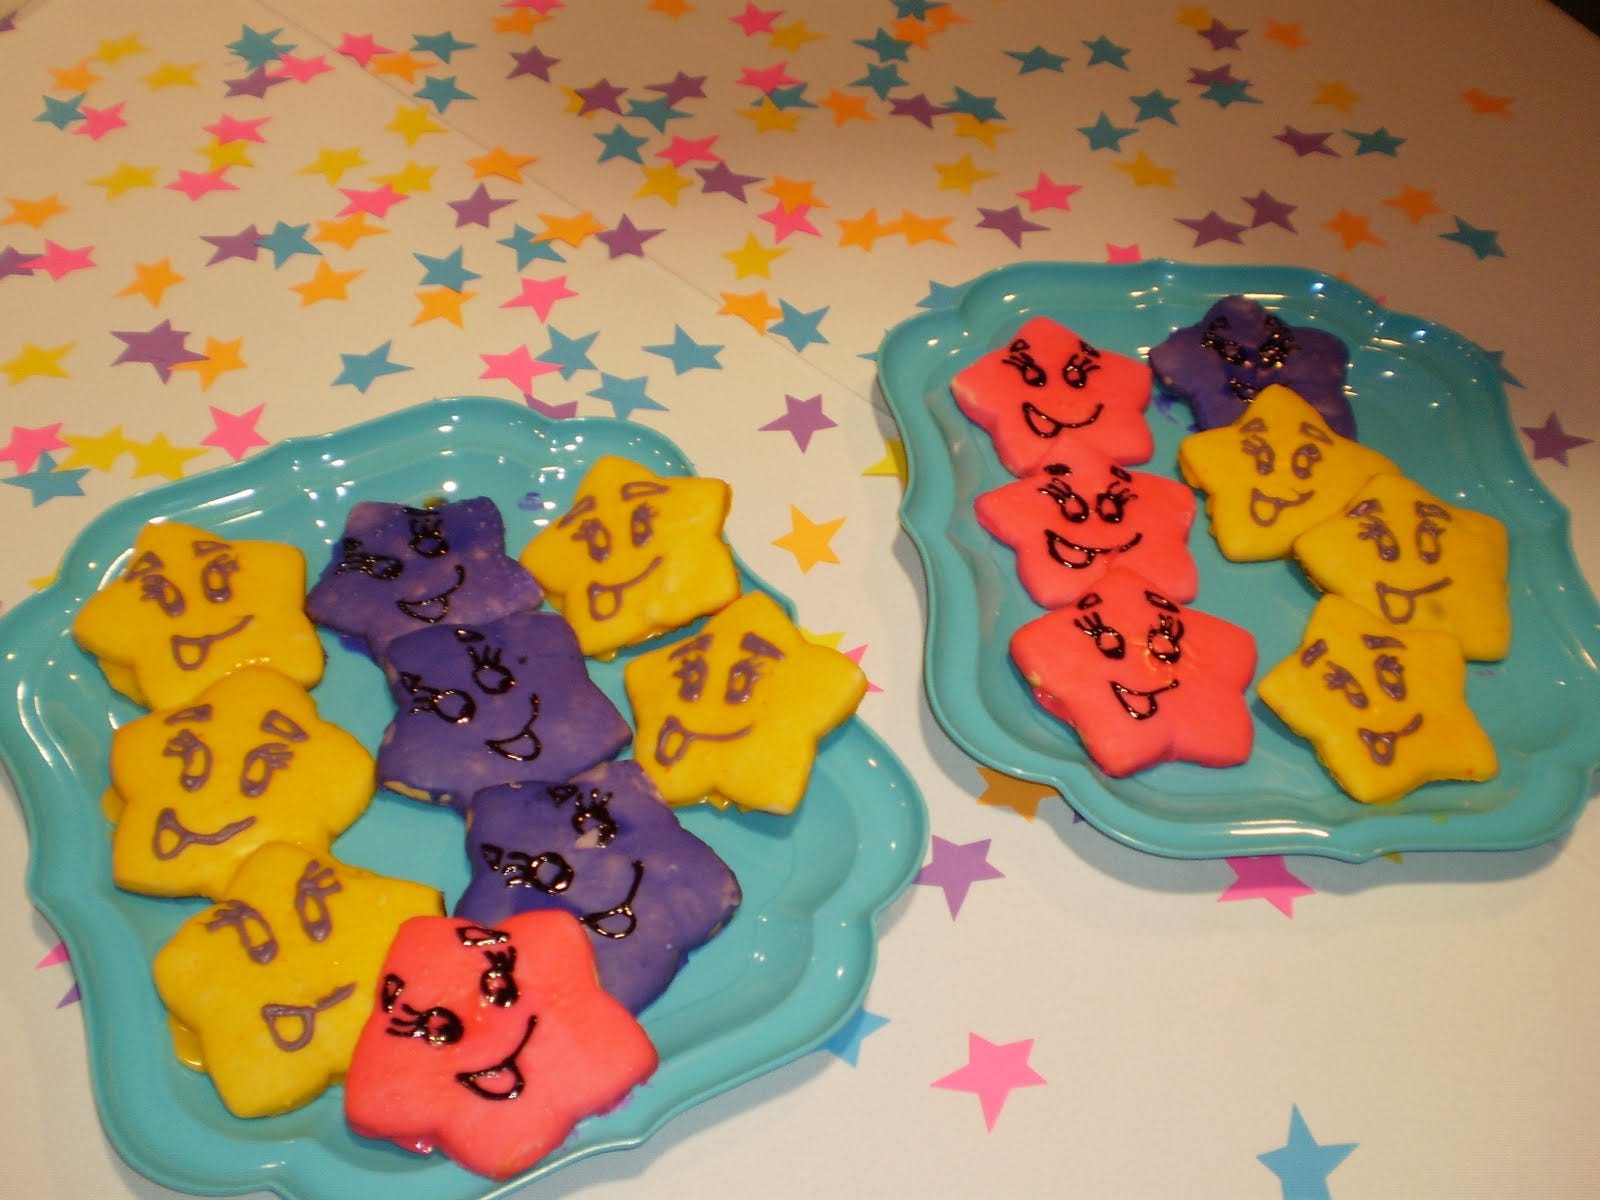
First, ours (I say ours because about 4 people worked on these cookies) were big colored stars with faces that looked like the stars in Dora the Explorer . Second, they were the best hands down in way of ease to work with and also in taste of any homemade decorated cookies I have had. I used Allrecipes.com to find the recipes for both the glaze and the cookies and followed both of the recipes exactly with the exception of using milk instead of water in the glaze which makes it have a more opaque and less shiny look but possibly tastes a tiny bit better. Cookie Recipe HERE (over 3,000 good reviews) Glaze Recipe HERE My Glaze Notes : The glaze recipe only made enough for about 6 of my cookies and if you are really picky about the colors being exact you might want to start with a double recipe to make sure you don't run out and have to re-mix. I used Wilton icing color ge l to color the glaze and the purple was a challenge and required lots of color and double dipping. I dipped the face of the cookies in the glaze but of course you can paint it on or whatever you want for more elaborate Christmas designs etc. The glaze takes about 4 hours to fully dry before you can do anything else to the cookies, so that is important to keep in mind. I can't wait to make these for Christmas! Dora the Explorer Party Part II Here